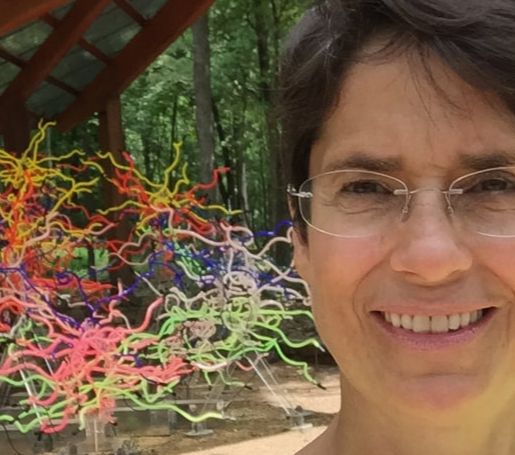
Original photo by Camilla Whitman
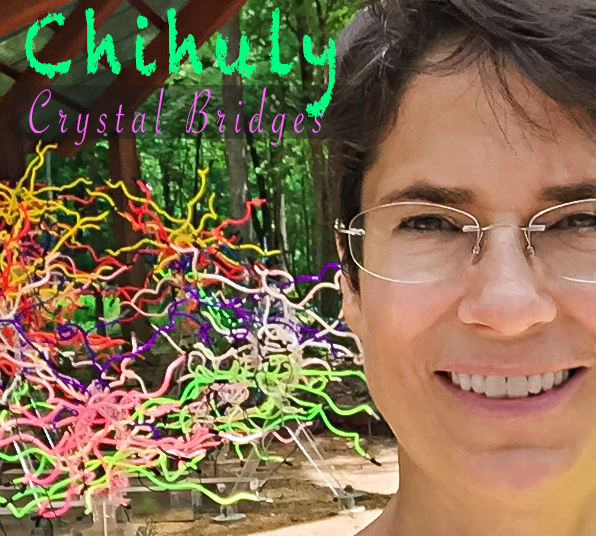
Edited Image
|
|
|
|
Design Thoughts:
Lately I haven't liked photos of myself due to the aging process. I decided to try and fix some of those issues in Photoshop.
I took this photo at the art museum Crystal Bridges in Bentonville, Arkansas. This is an outdoor blown glass exhibit by Chihuly.
Photoshop:
Lately I haven't liked photos of myself due to the aging process. I decided to try and fix some of those issues in Photoshop.
I took this photo at the art museum Crystal Bridges in Bentonville, Arkansas. This is an outdoor blown glass exhibit by Chihuly.
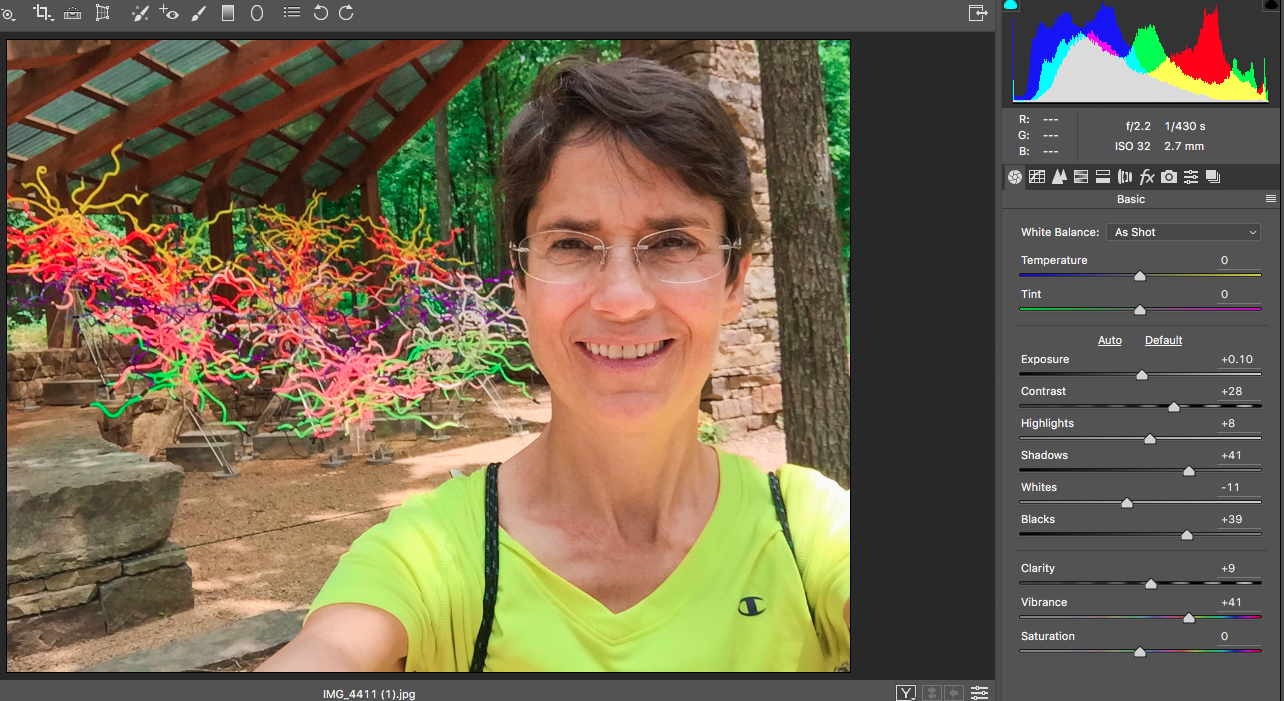
- First I worked on the image in camera raw. I lightened the shadows, and I also made the blown glass colors more vibrant.
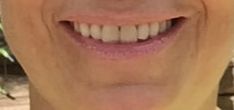
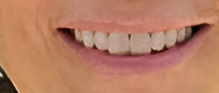
- Next I whitened my teeth and brightened my eyes.
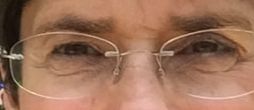
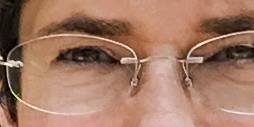
- I cropped the image so you could see a closeup of the face to see what things were changed.
- I smoothed out the wrinkles on my skin with the clone stamp tool so that the wrinkles were still there but the creases were lighter.
- I smoothed out my chapped lips.
- On my eyebrows, I took out some of the really bushier parts with the healing brush tool, and I used liquify to make the hairs go upward.
- I have one lazy eye, so I smoothed out the other eye lid to make it match the lazy eye.
- Lastly, I added a title matching the colors in the blown glass.
Photoshop:
- I used the lasso tool and traced around the teeth. I made a new layer, group, and mask layer. I also added a hue/saturation adjustment layer and clicked colorize. I dragged the hue and saturation sliders to the left until the teeth were appropriately white. I then added a curves adjustment layer and made the darker areas brighter by dragging the curve up and dragged the underlying slider toward the left. I then used the marquee tool around the teeth and filled the teeth with white and dragged the underlying layer slider from left to right to make a sheen on the teeth. (My first attempt at this whole process made my teeth unnaturally white, so I moved over the adjustment boxes so I could see if what I was doing looked natural.)
- I used a new layer and a mask for the eyes. I used the quick mask to paint and make a selection of the eyeballs. I inverted it and then changed the blend mode to overlay on the empty layer. I brushed white over the bottom of the eyeball to brighten the eyes.
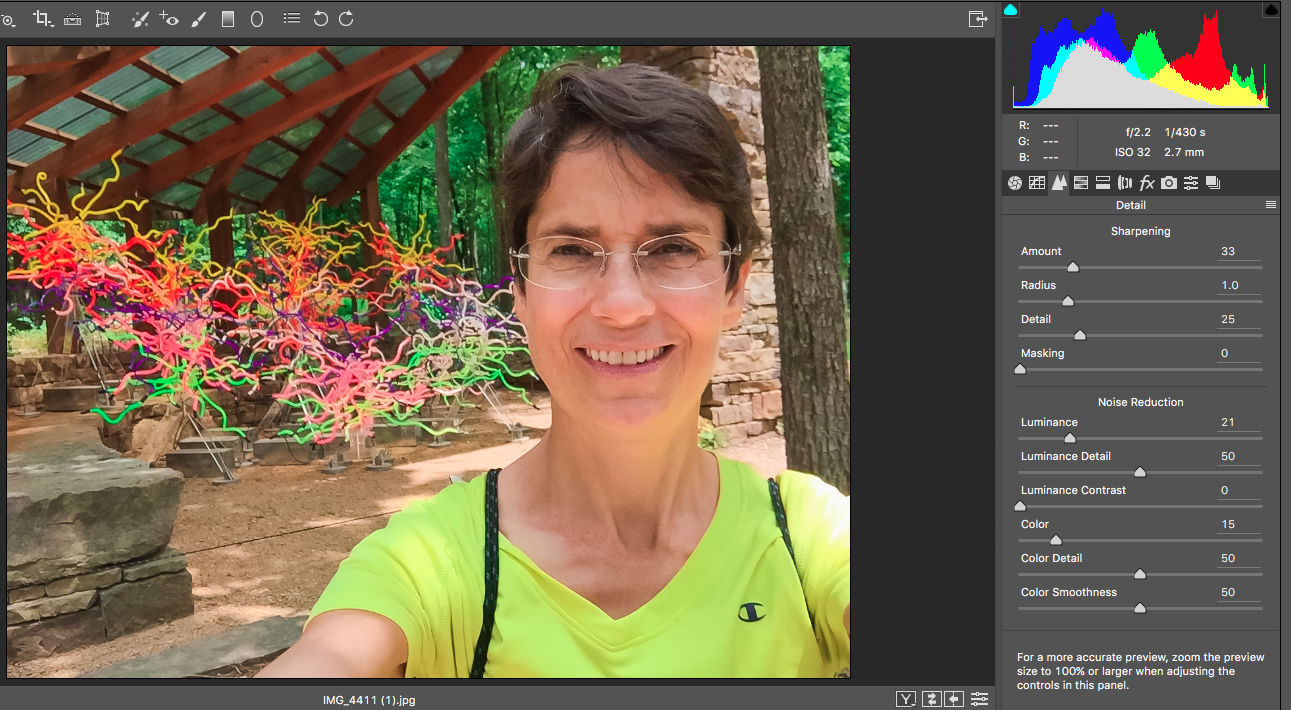
- I used an unsharp mask to sharpen the entire image.
- Next I smoothed out the wrinkles on my skin. First I tried the surface blur filter, but that smoothed the wrinkles too much and didn't look natural. Then I tried the healing brush tool, but that didn't look natural either. Lastly, I tried the clone stamp tool and that lightened the wrinkles without totally removing them so it looked natural. I later had to erase some areas and redo them with a lighter touch by decreasing the opacity because they still looked a little unnatural.
- My eyebrows were a little bushy, so I used the healing brush tool and removed some parts of my eyebrows. Then I used the liquify tool to pull my eyebrow hairs upward because they looked a little messy.
- I smoothed out the right eye lid with the clone stamp so it matched my lazy eye. I also smoothed out my chapped lips.
- I cropped the image so you could see a close up of the face.
- I added titles that matched the colors of the blown glass. I used chalkduster on the Chihuly and the script font Savoye LET on the Crystal Bridges title. I aligned the title to the left. I added a 40% opacity black rectangle box underneath Crystal Bridges so the lettering didn't blend in with the background.
Camera Raw:
I lightened the shadows and blacks and increased the vibrance and contrast. I took out some of the luminance and color noise and sharpened the image. I brightened the hue of the oranges, yellows, greens, and purples so the the colors in the glass would pop.
Click on the images below to see a larger image of the changes made in Camera Raw.

|
|
|
